Products:
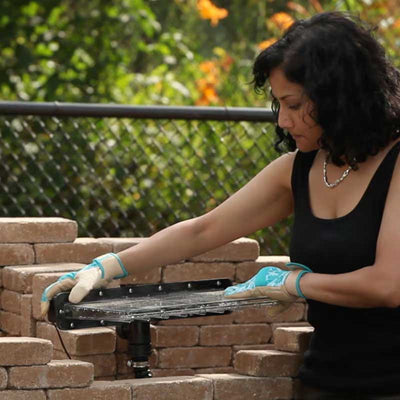
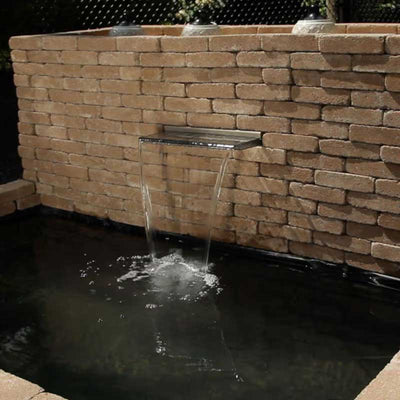
Waterfall Spillway with LED Lights
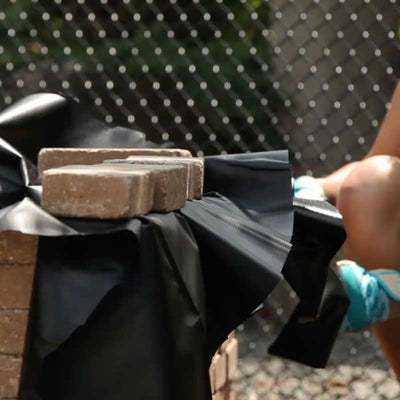
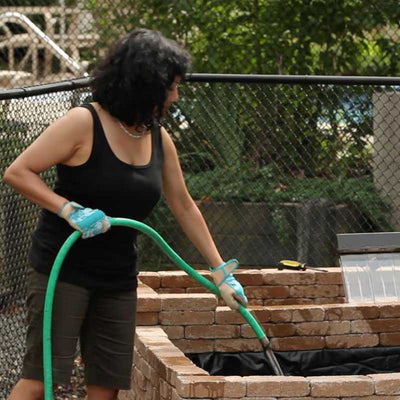
10 ft. x 13 ft. Pond Liner
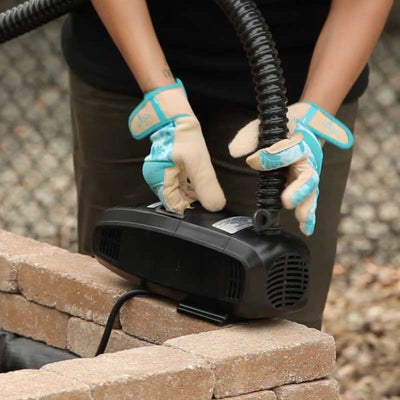
1200 GPH-2250 GPH Waterfall Pump
1 in. - 1.5 in. ID Corrugated Tubing
6 Mini LED Lights (optional)
Pond & Landscape Lights (optional)
Floating Lily Pad Variety Pack (optional)
Tools:
Protective gloves
Tape measure
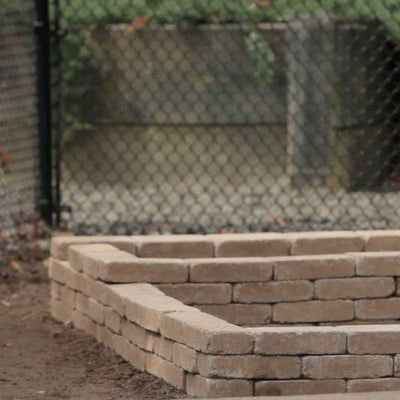
Paver stones
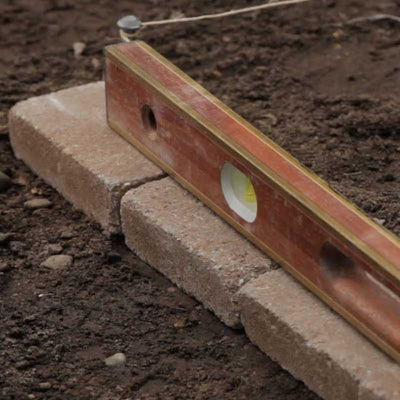
Level
Decorative Items:
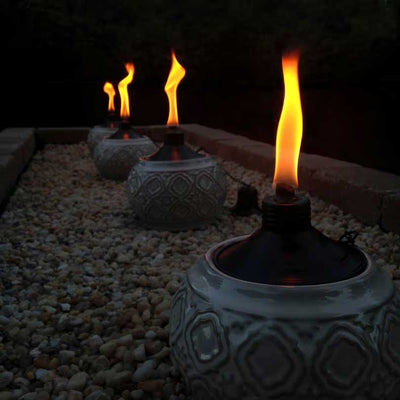
Tabletop torches (optional)
Pea gravel (optional)