Seaming Tape
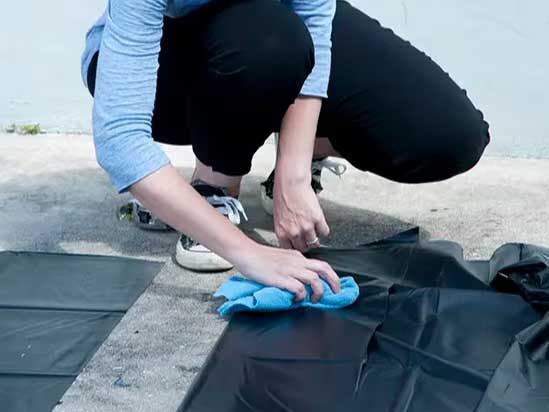
1
Clean all areas of the liner that will overlap with a mild cleaning agent, like soapy water. For extremely dirty or sticky liners, you can use acetone. Also smooth out any wrinkles in the liners.
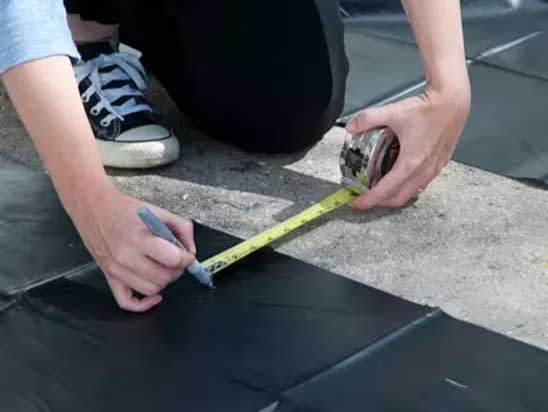
2
Using a marker or chalk, mark at least 4-5 inches from the edge of the bottom liner. Make several marks down the length of the liner for easy positioning.
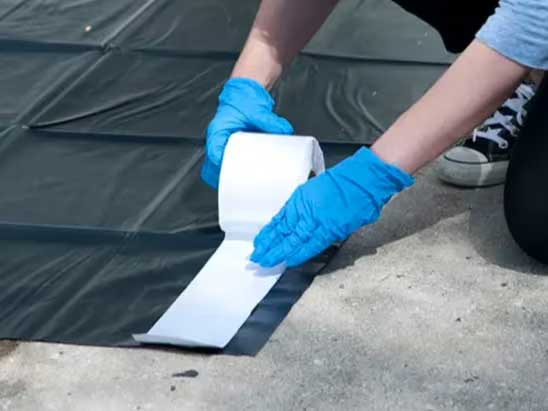
3
Align the seaming tape on bottom liner where you have made the marks. Unroll the tape along the entire length and stick the seaming tape to the bottom liner.
Before removing the backing, apply pressure along the entire length of the seam tape.
TIP! Use a roller or similar tool to help you.
4
Align the top liner over the seaming tape. Slide the backing out from under the top liner, applying pressure to the top liner as you go. Once the two liners are connected apply pressure along the entire length of seam to seal.
About the TotalPond® Seaming Tape
- Easily create a larger liner with TotalPond pond skins® Seaming Tape, which connects and seams together two or more pieces of liner.
- Versatile use: Seaming Tape is suitable for use on all EPDM or PVC pond liners. Can also be used to connect pond underlayment.
- Durable construction: The tape is waterproof and resists cracking. It does not obstruct the flexibility of the pond liner.
- Easy to apply: After 5 easy steps and with minimal mess, Seaming Tape allows you to use pond liner in a couple hours.
- Safe for fish and plants: Seaming Tape is made from non-toxic Butyl Rubber and calcium carbonate.
- What’s included: One 25 ft. x 3 in. roll of seaming tape
- Designed with care: This seaming tape is supported by a 90-day manufacturer warranty.


