
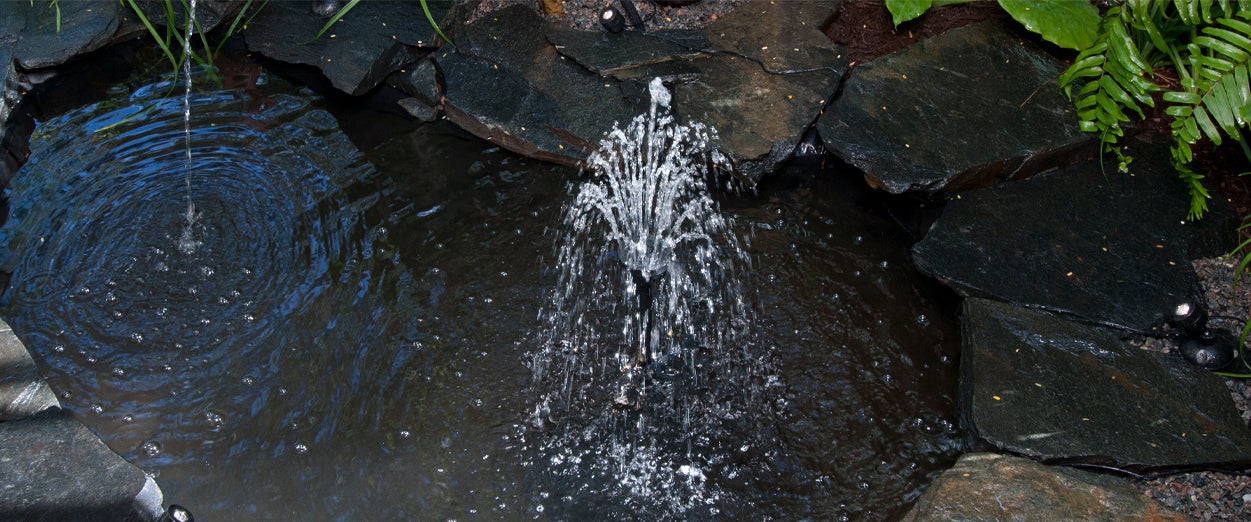
All-in-One Pond Bundle
All the essential equipment to create a small pond up to 200 gallons. Turn your backyard dream into a reality!
What's Included in the Bundle
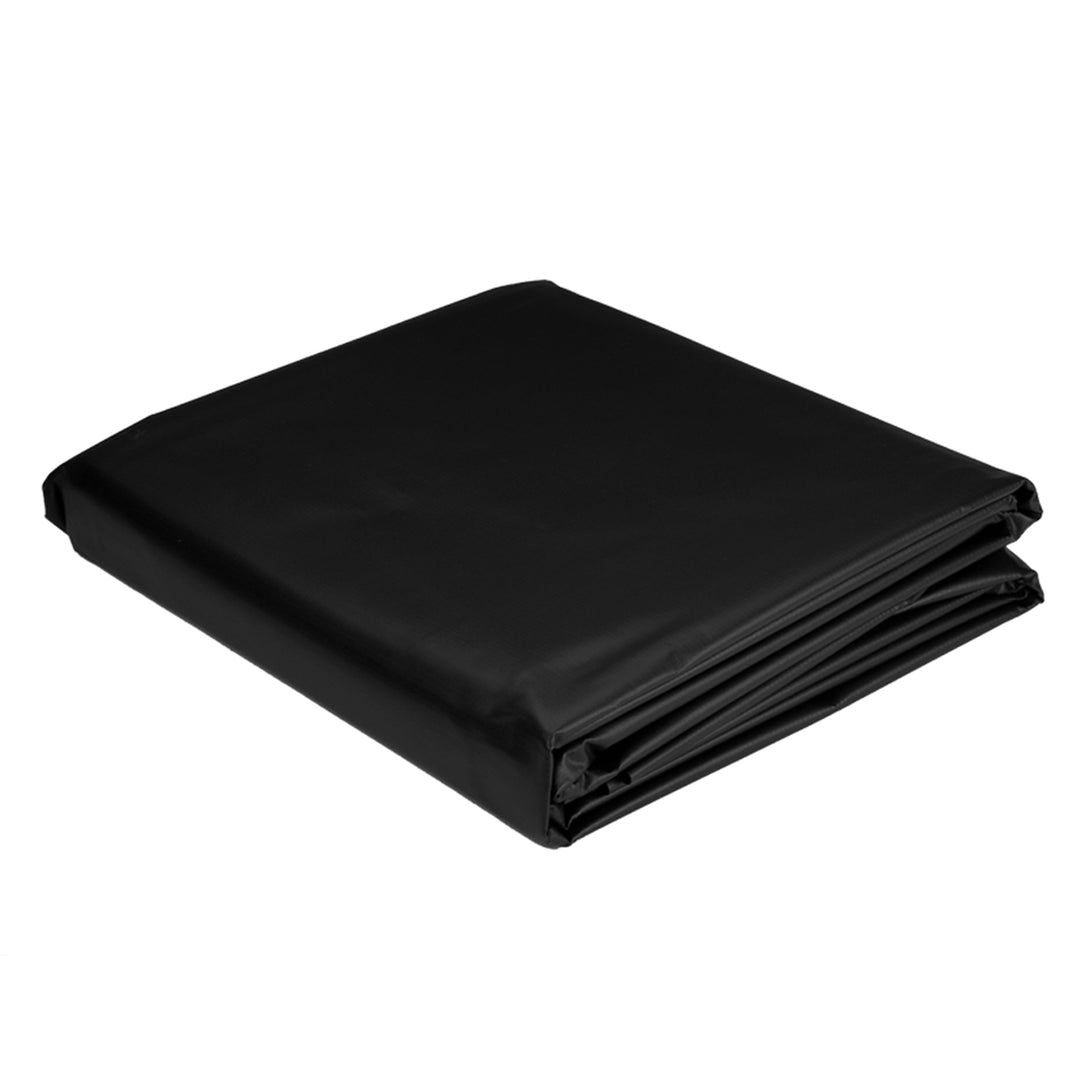
7 x 10 ft. PVC Liner
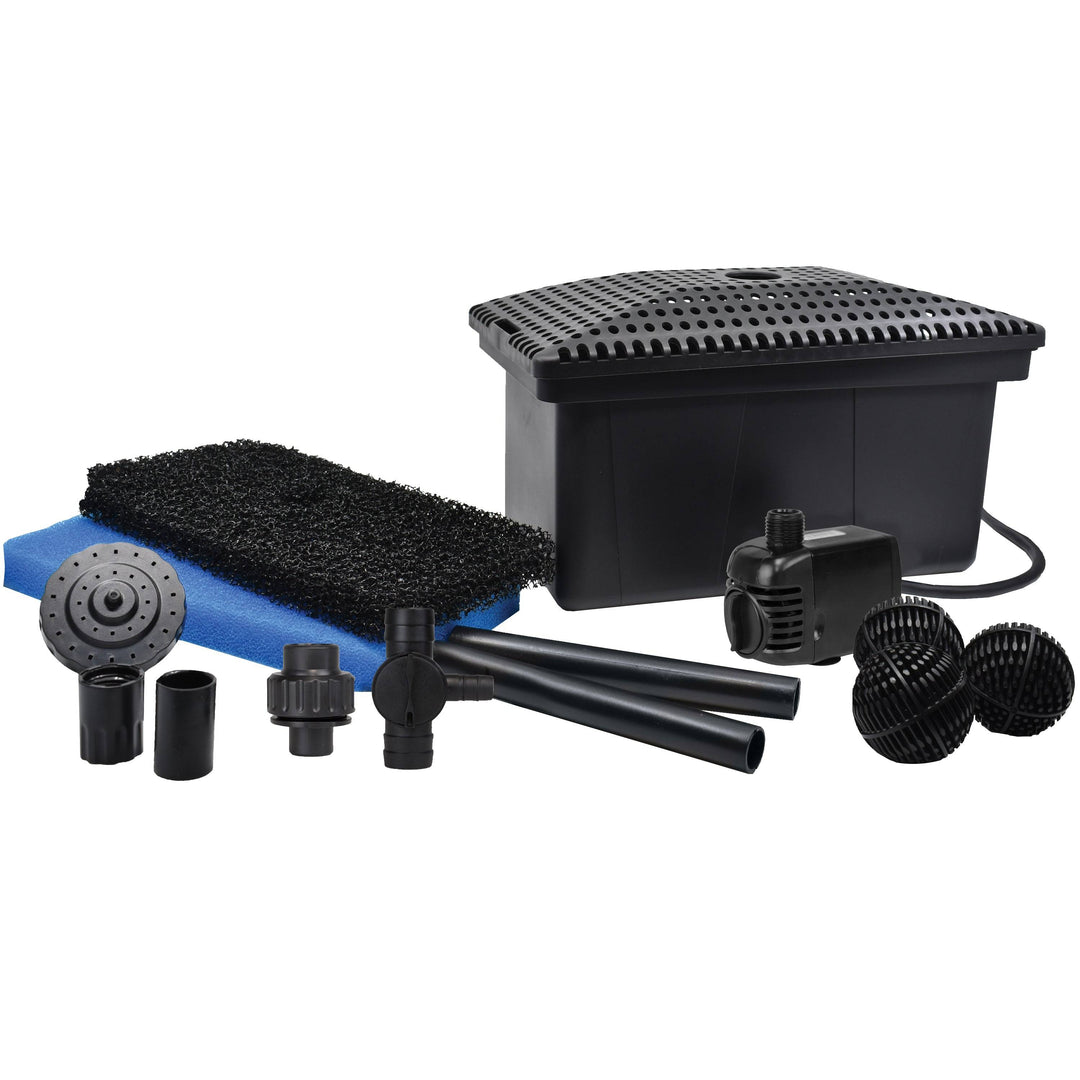
Complete Filter Kit with pump and fountain nozzle
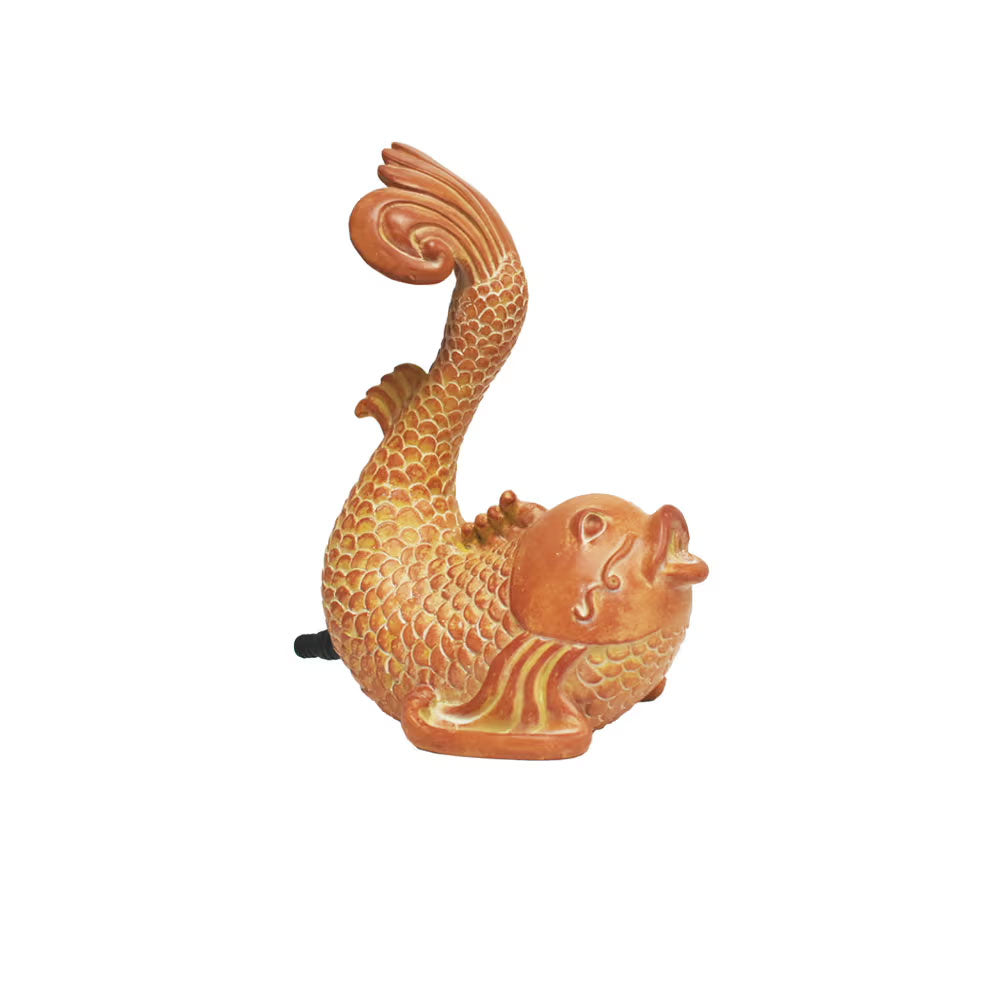
Koi Spitter
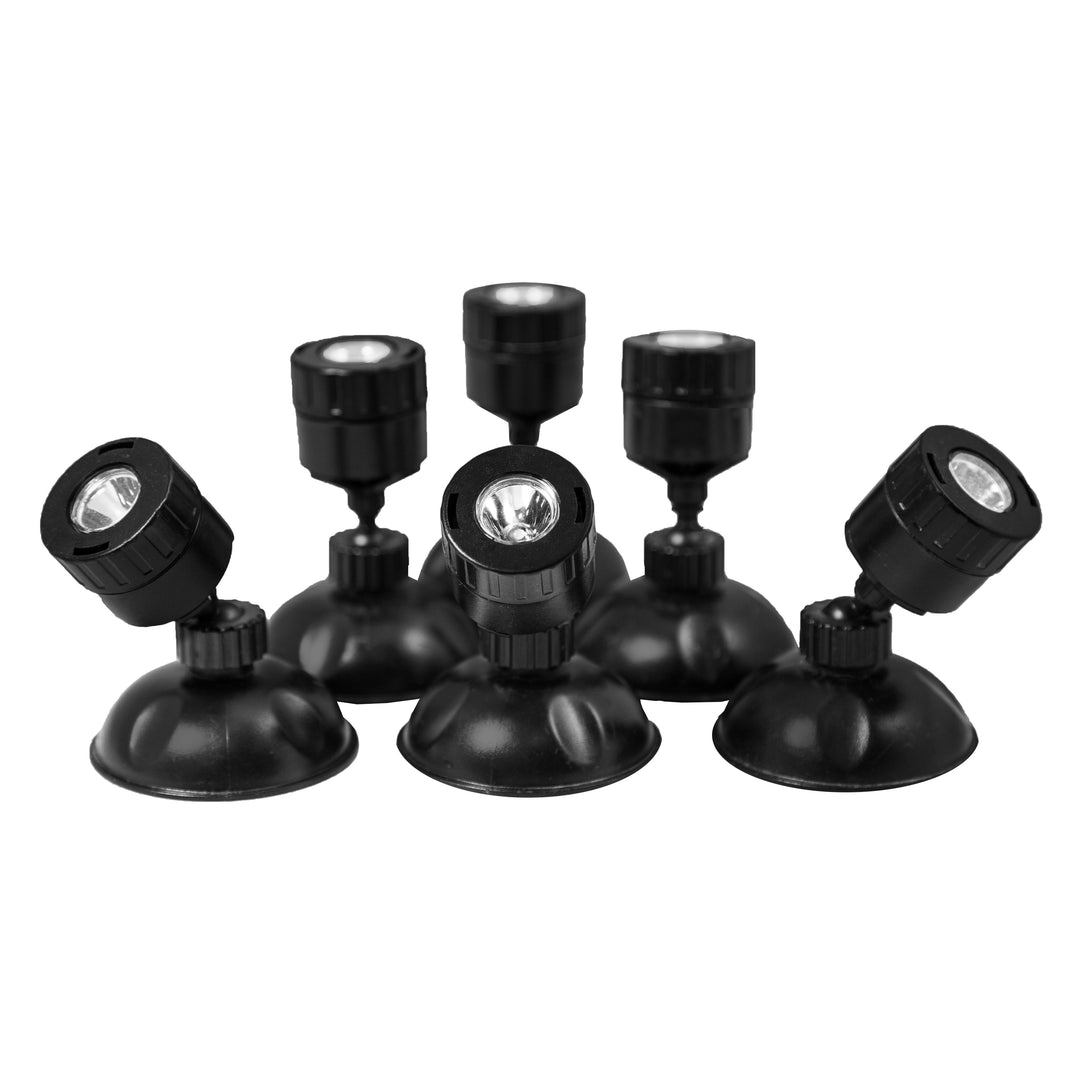
Pond & Landscape MiniLED Light Set
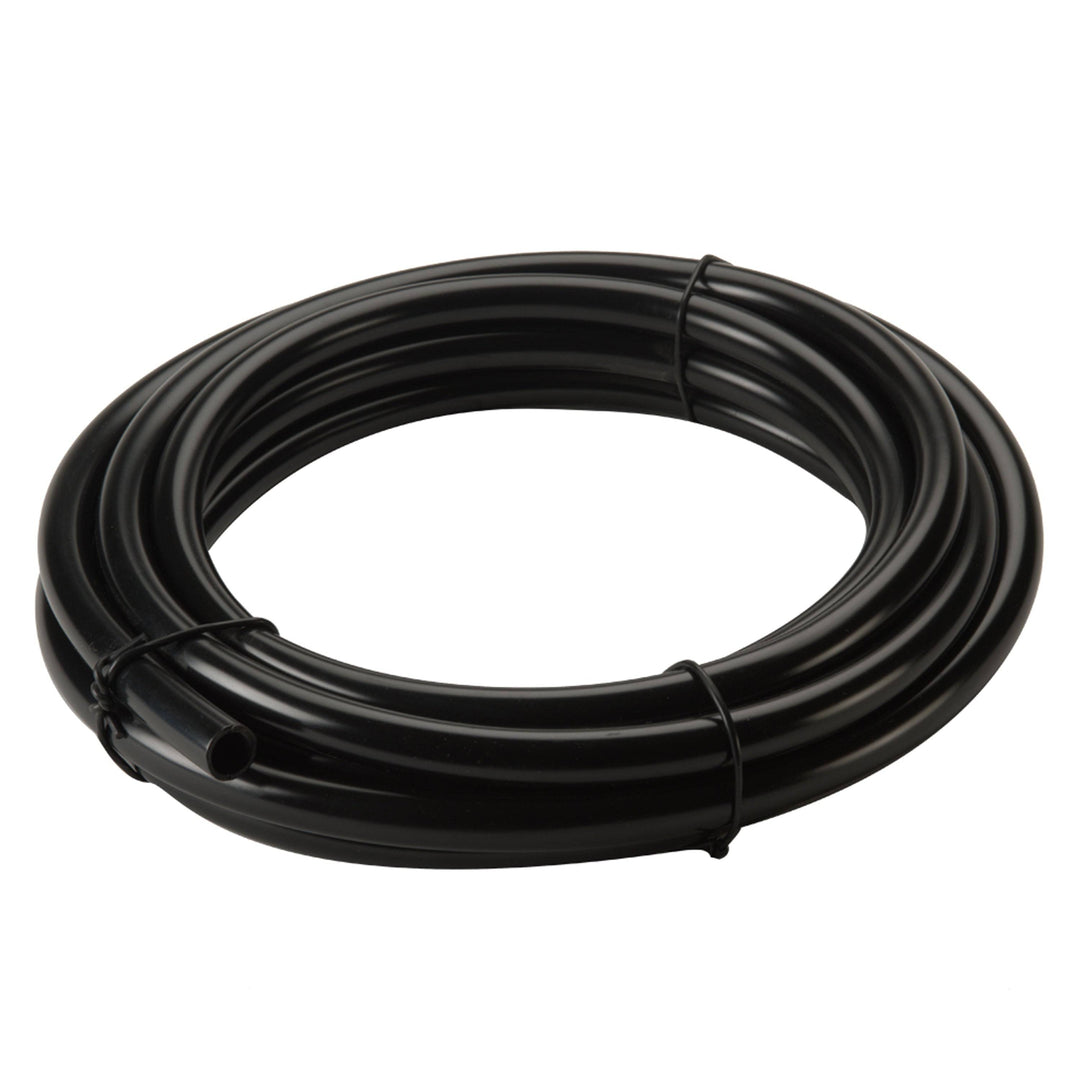
1/2 in. Vinyl Tubing
HOW TO USE THE
ALL-IN-ONE POND BUNDLE
Estimated construction and assembly time: 3 hours
- Before you start digging, take a look at these planning tips!
- Approximate dimensions of a small pond are 3 ft. L x 6 ft. W x 1.5 ft. D (up to 200 gallons)
- BONUS TIP! If your pond houses fish, make sure it’s at least 18 in. at the deepest point.
- View & download instruction manual
- Rope or string
- Shovel
- Garden hose
- Scissors or cutting tool
- Sand or underlayment
- Rocks
- 2 properly grounded (GFCI) outlets
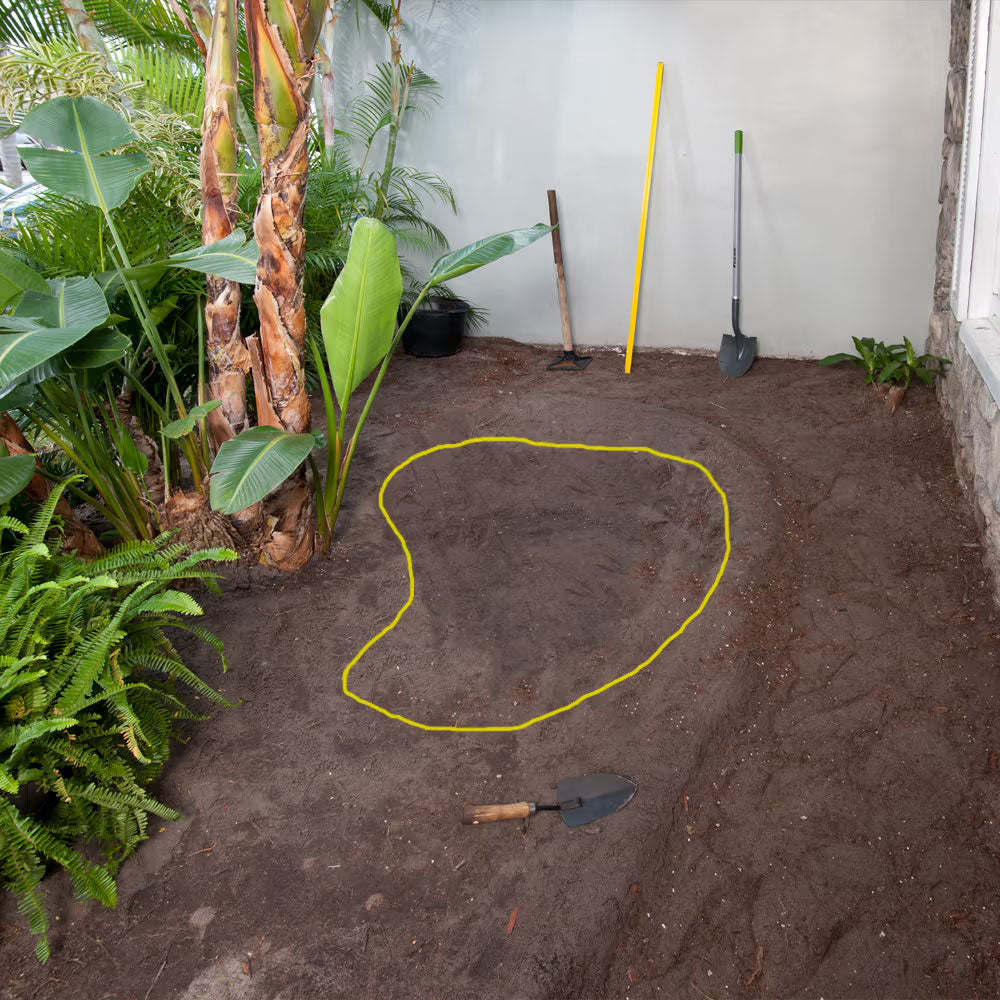
1
Start by using a piece of string or rope to mark the shape and location of the pond. For this 200-gallon pond, the approximate dimensions are 3 ft. x 6 ft., with a depth of 1.5 ft.
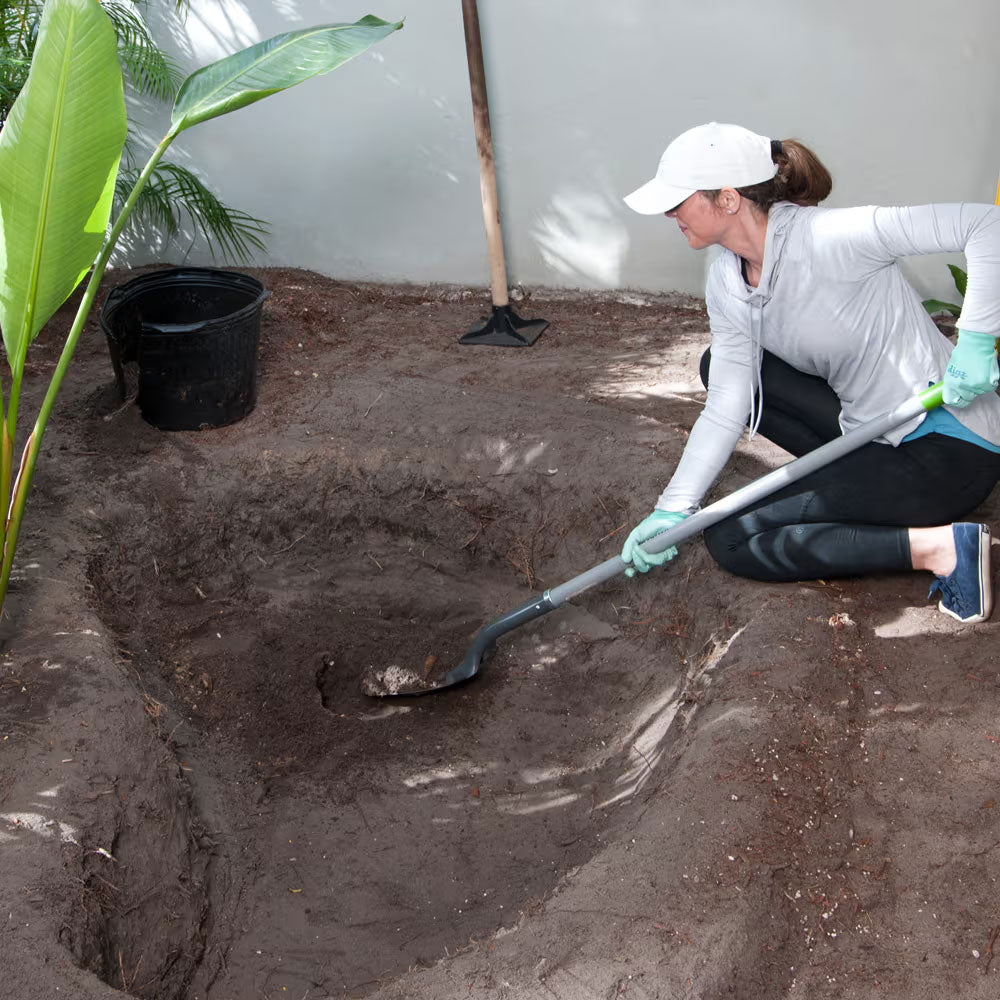
2
Once you are happy with the shape, use a flat shovel to start digging the first tier of the pond. We recommend having levels in your pond. This will provide a shelf to hold plants and accessories.
TIP! Allow for 1-2 in. of extra depth for the underlayment.
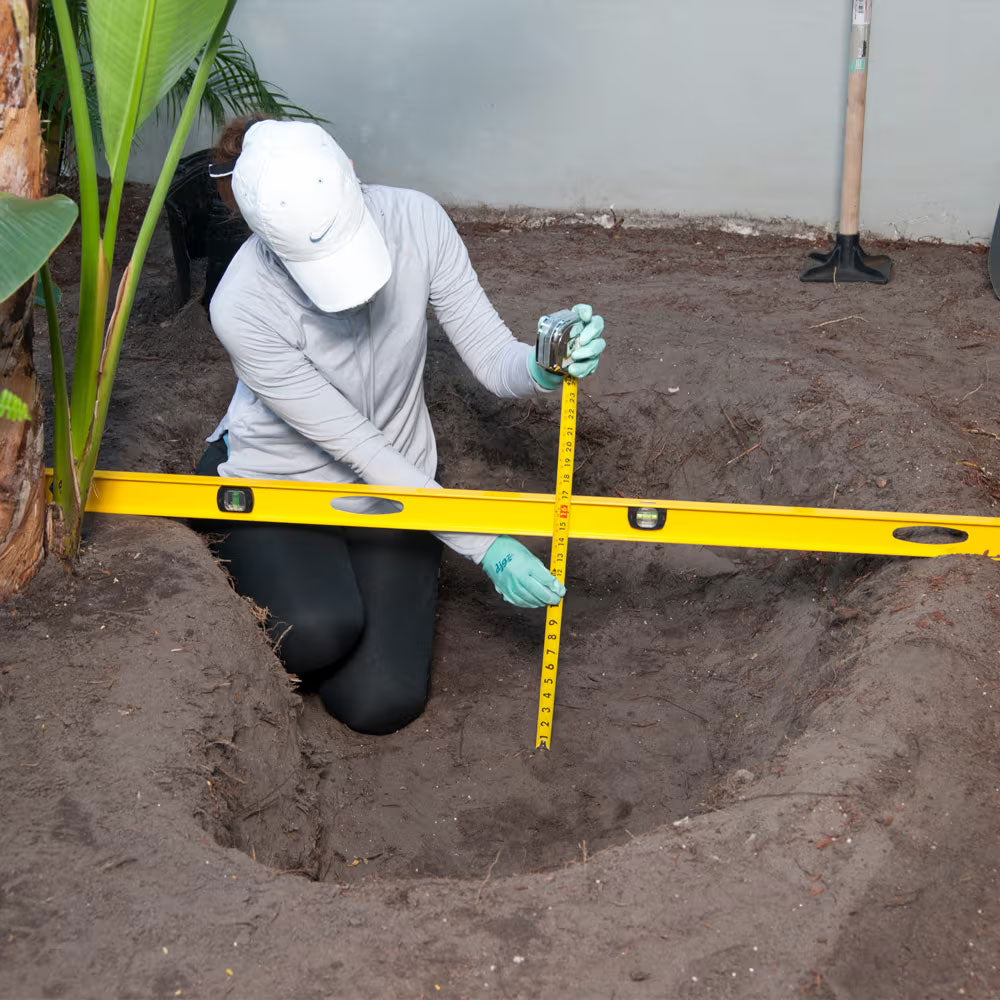
3
Begin digging the second tier of the pond to a depth of approximately 6-12 inch. Keep some dirt for leveling, while clearing all sharp rocks or debris that could puncture the liner from the soil.
Reminder! If your pond houses fish, make sure it’s at least 18 in. at the deepest point.
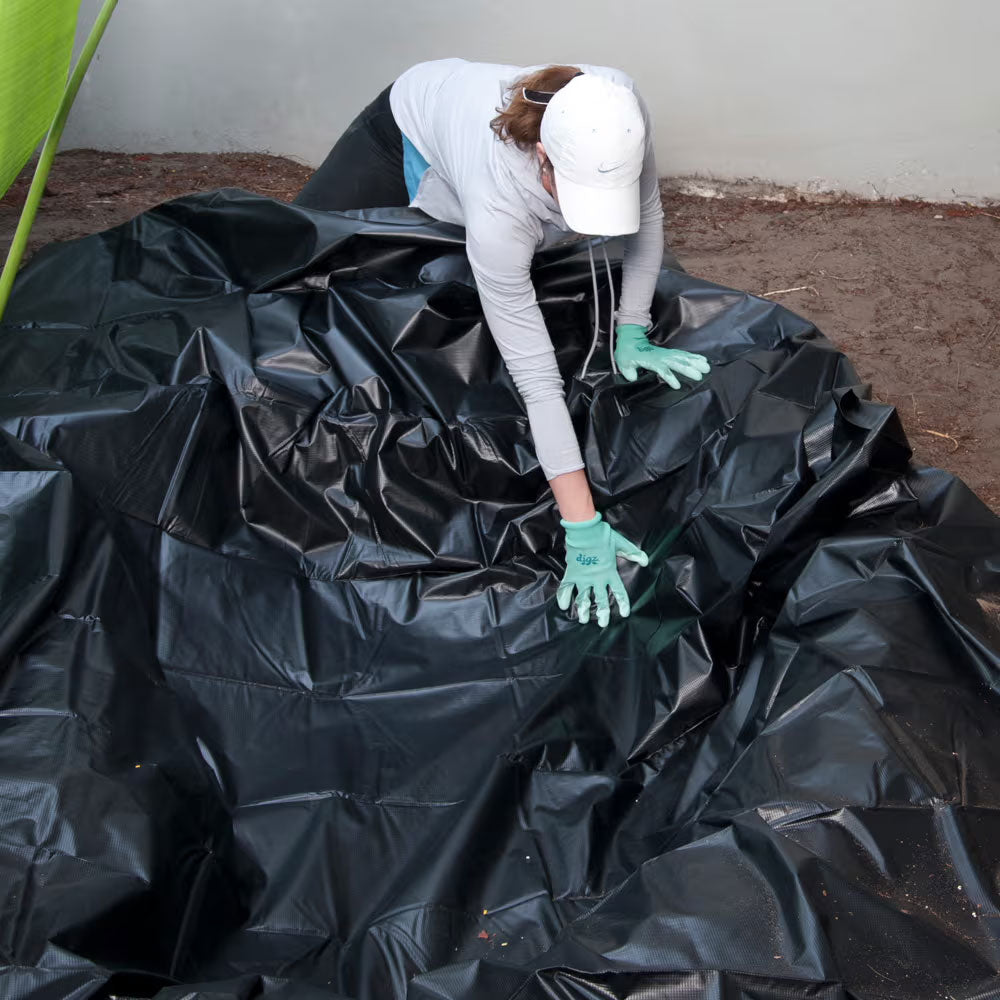
4
Test the liner's size and shape by pressing it into all gaps to ensure a proper fit. Leave at least a 10-12 in. overhang. If roots and/or debris are present, line the bottom with old carpet or sand to protect the liner from punctures.
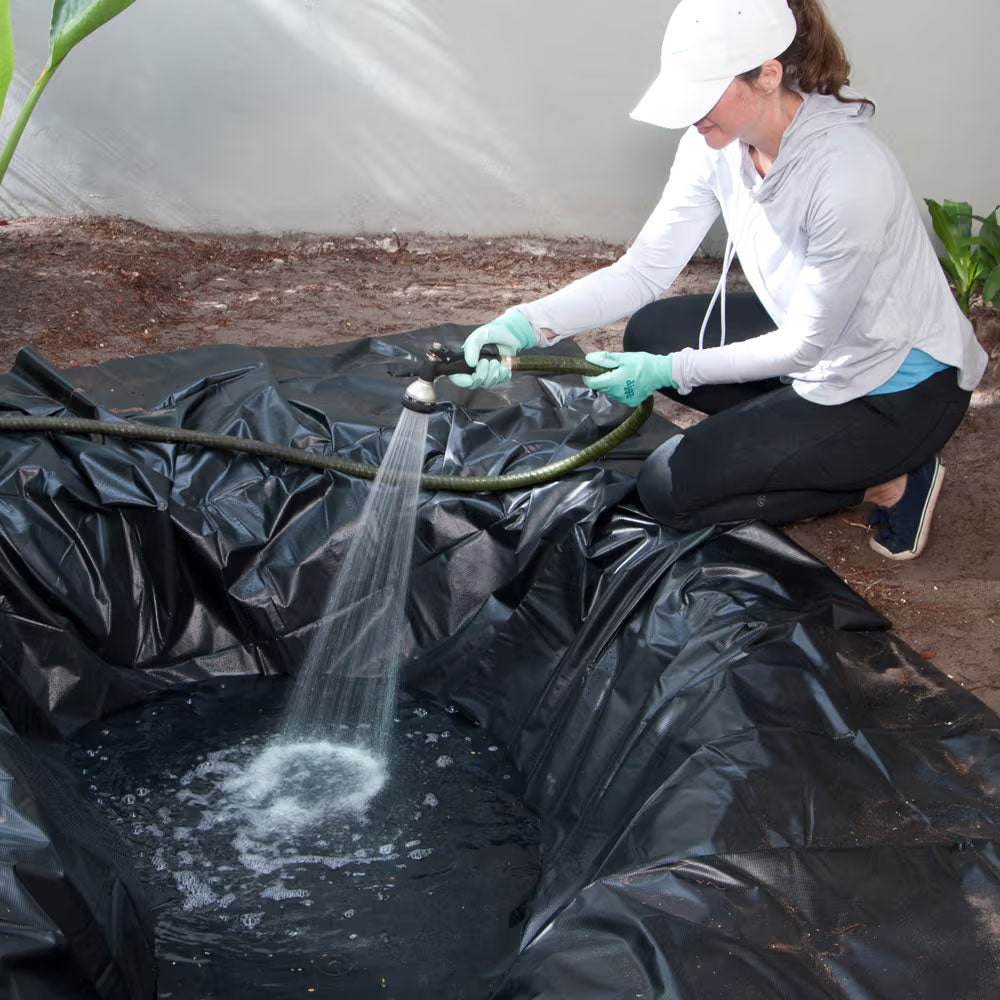
5
Begin filling the pond. Adjust the liner edges, smoothing any wrinkles as it fills. Stop fillingthe pond at the halfway point.
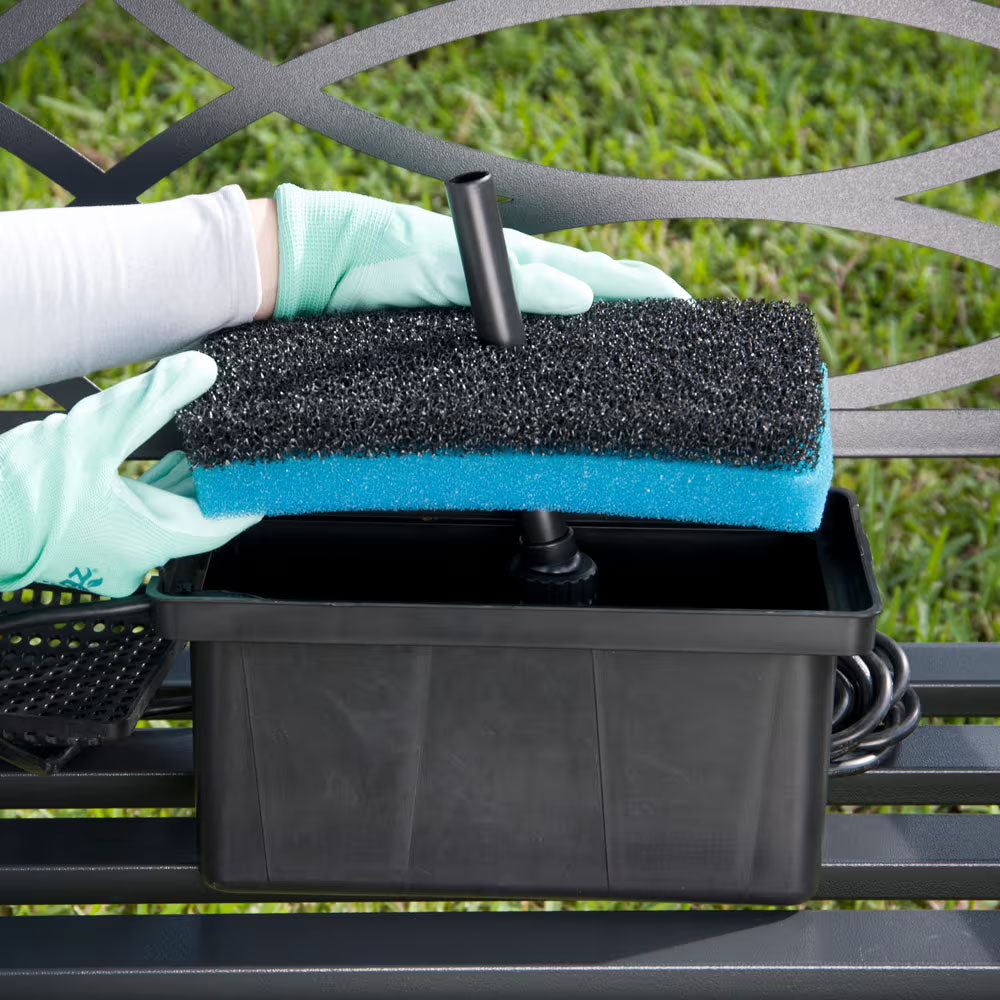
6
Assemble the Complete Filter Kit. Place the pump, filter media and fountain nozzle inside the filter box.
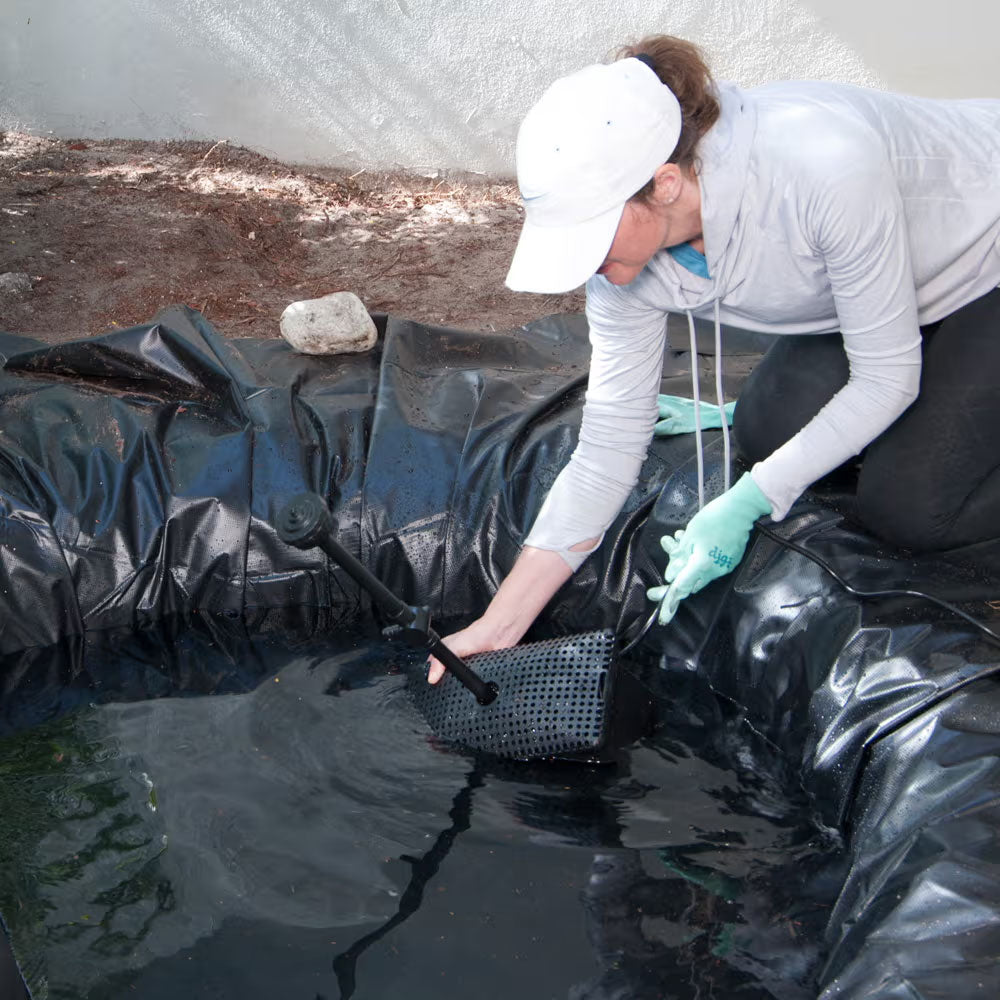
7
Place the Complete Filter Kit in the center of your pond. Make sure to slightly tilt the filter kit when placing it in the pond to fill the unit with water.
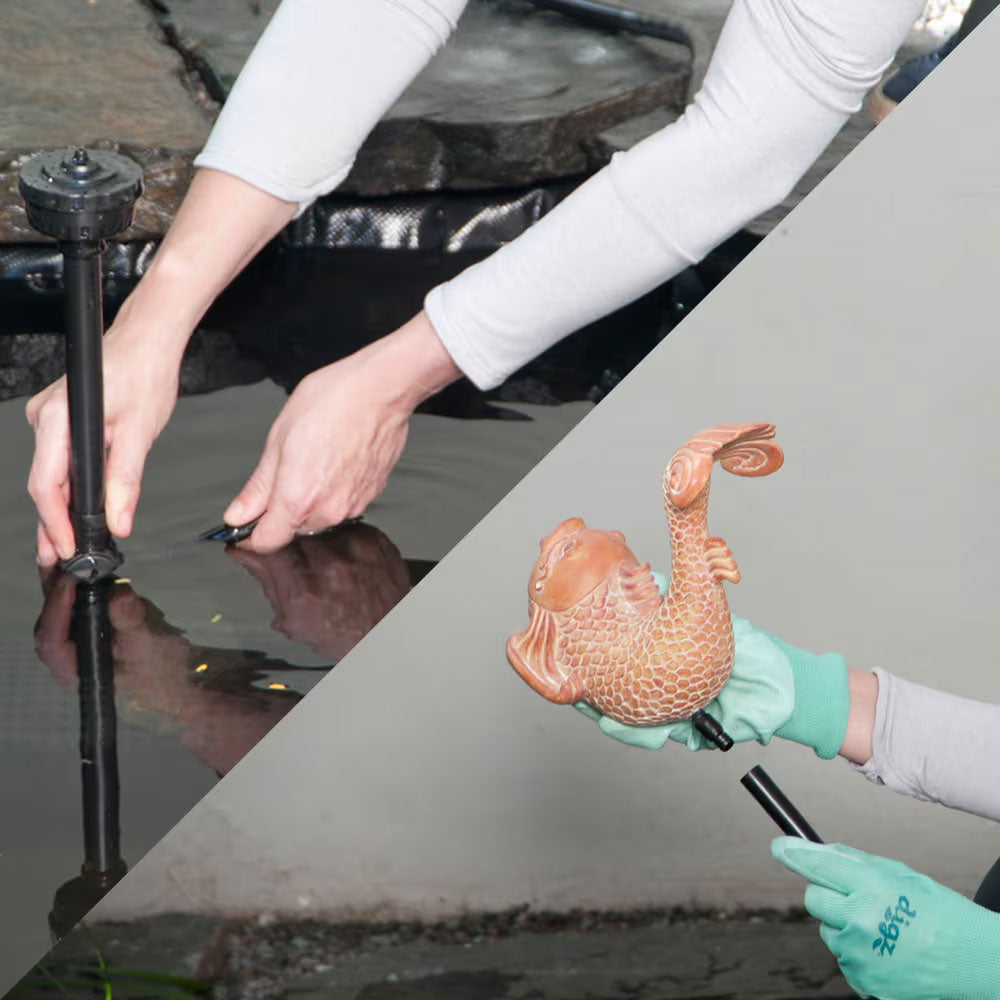
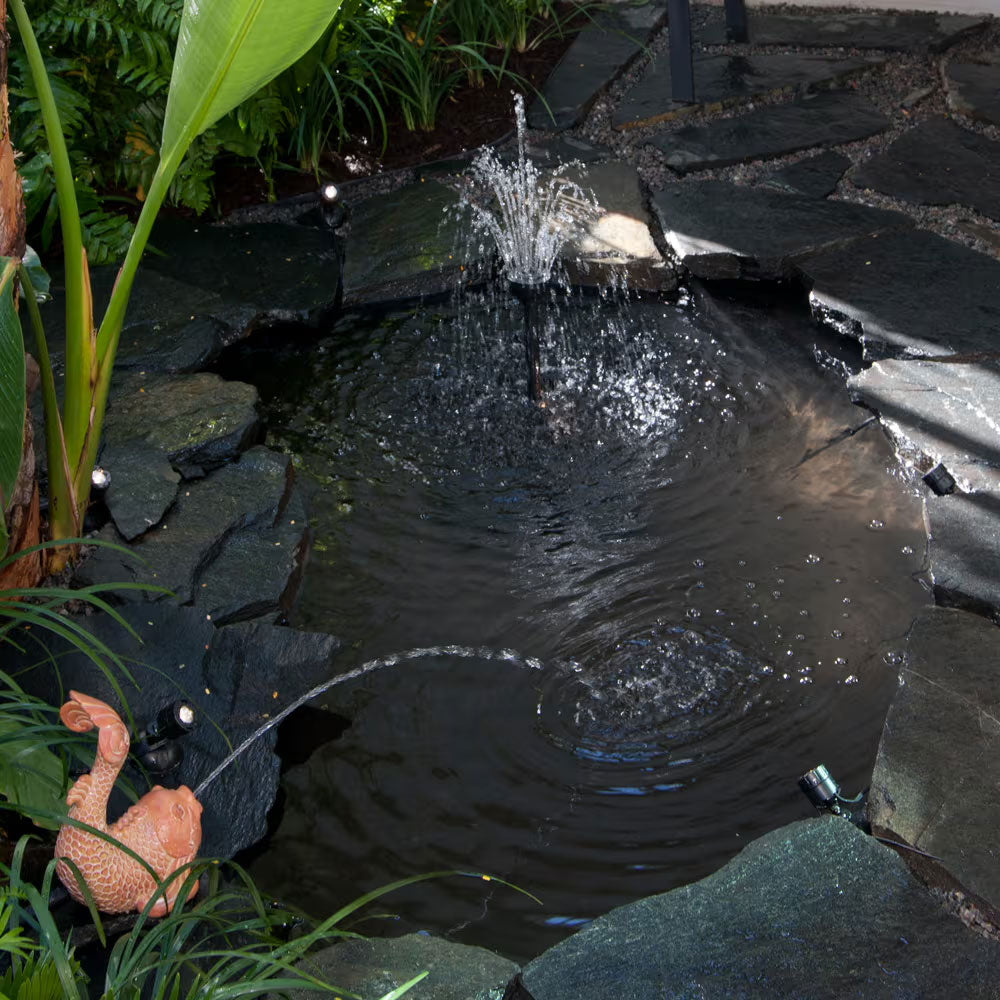
8
Using the ½ in. ID Vinyl Tubing, connect the Koi Spitter to the diverter valve on the assembled Complete Filter Kit.
Place the spitter by the edge of the pond.
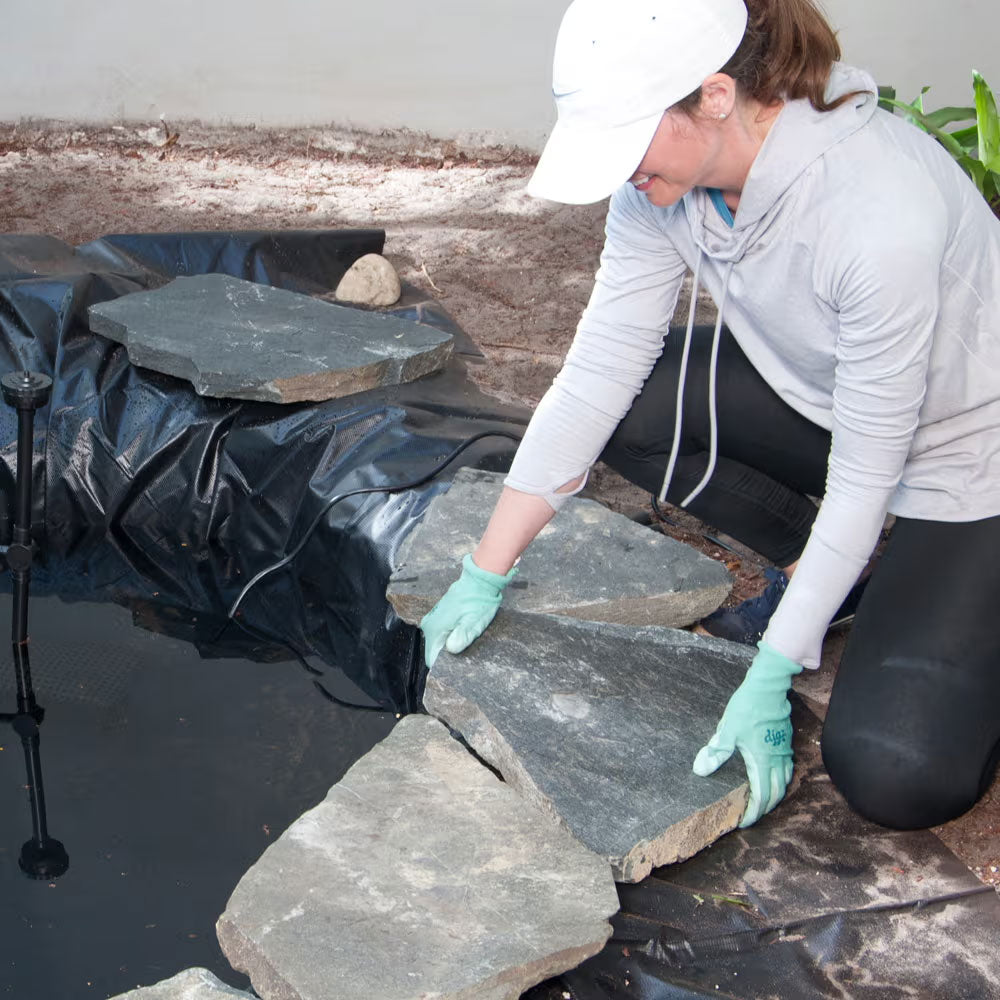
9
Continue filling the pond with water. While the pond is filling, secure the liner with stones. Add a ledge of decorative rocks around the perimeter to hide the liner edge. The ledge can be a couple of inches deep.
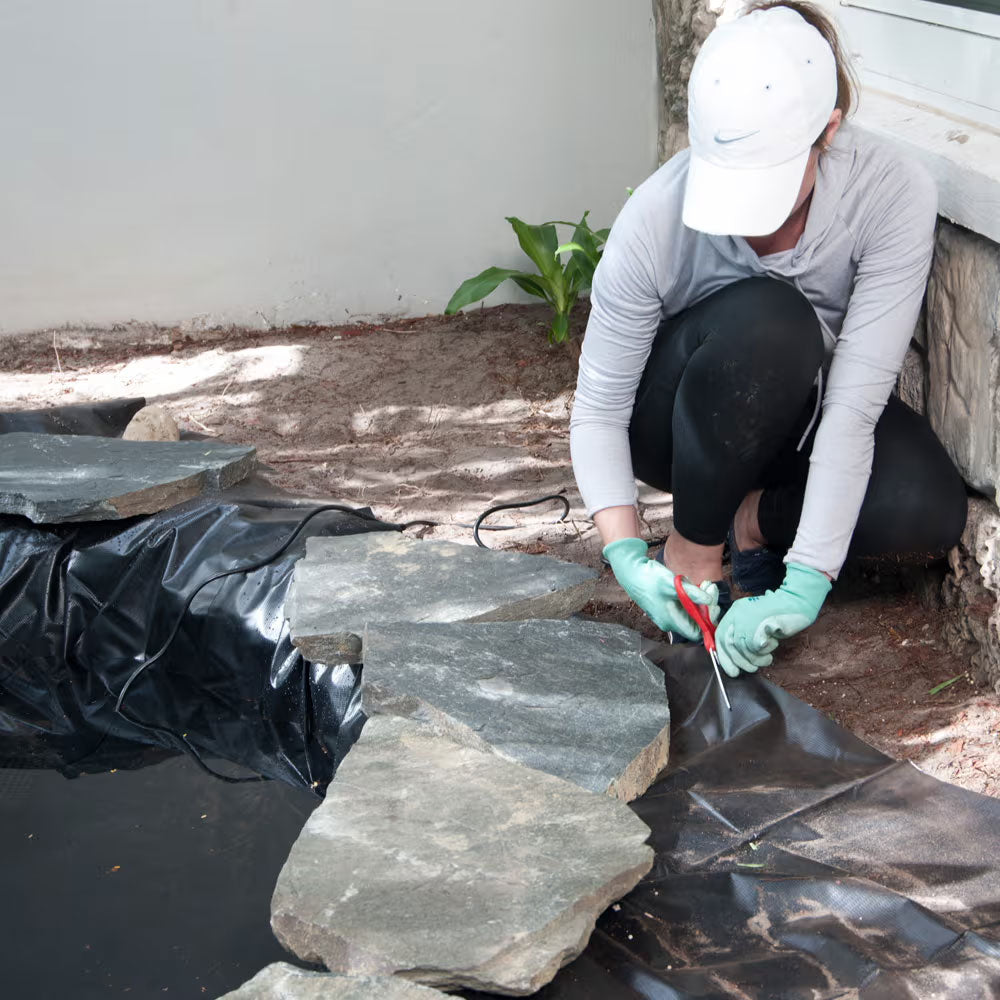
10
Fold the liner under or trim the excess. Then decorate the landscape around your pond with plants and mulch to disguise the liner edge.
11
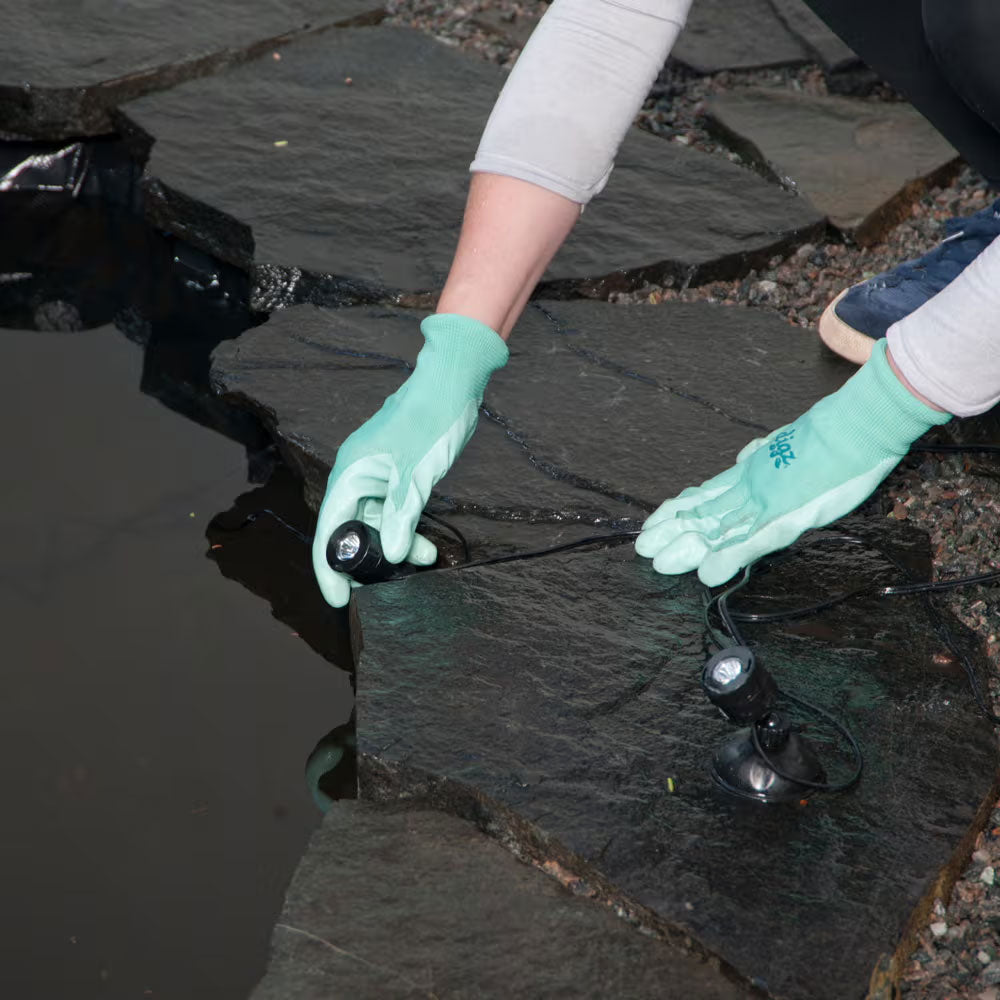
Add the Pond & Landscape Mini LED Light Set in and out of the water to illuminate the pond and water features.
12
Connect the power cords to properly grounded electrical outlets (GFCI) and enjoy your new water feature!
TIP! Add Chlorine Remover before adding any fish or plants to water. Chlorine Remover and other Water Treatments can be found here.
Not enough room for an in-ground pond?
No worries, you can easily use the All-in-One Pond Bundle to create an above-ground pond. Follow this link for steps and helpful tips for building an above-ground pond with this bundle.
Product Maintenance
Keep your products running smoothly with regular cleaning and care.
Pond Maintenance
What do you do next? Routine maintenance can keep your water feature clean and clear and its inhabitants happy and healthy.


